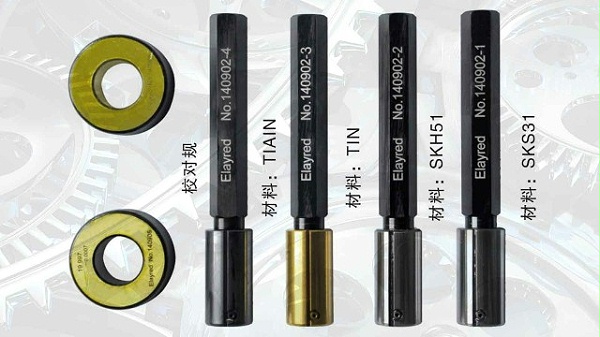
The use of the stop-stop gauge is as follows:
Before use: it should be tested and measured by relevant inspection and measurement institutions before it can be put into use on the production site.
When using the stop-stop gauge: it should be noted that the tolerance level and deviation code of the measured thread are the same as the tolerance level and deviation code marked by the ring gauge
Inspection and measurement process: First of all, clean the oil and impurities of the measured thread plug gauge, and then after the ring gauge and the measured thread are in line, turn the ring gauge with the thumb and index finger to make it in the free state to screw through the whole length of the thread to determine qualified, otherwise to judge

As a precision parts size pneumatic measurement equipment manufacturer, we have19+Years design experience engineer, can provide a variety of measurement solutions. The pneumatic probe produced by the use of German imported steel, to ensure the real material, after the original salt bath heat treatment, high temperature1500°Quench, wear proof, liquid nitrogen-180°Deep cooling to remove internal stress, prevent deformation, manual grinding, ensure micron accuracy.
If you're on billion leride
Pneumatic probe Interested or want to know more details, please click on our online customer service for consultation, or directly call the national unified service hotline
400-682-7787. We look forward to hearing from you!

